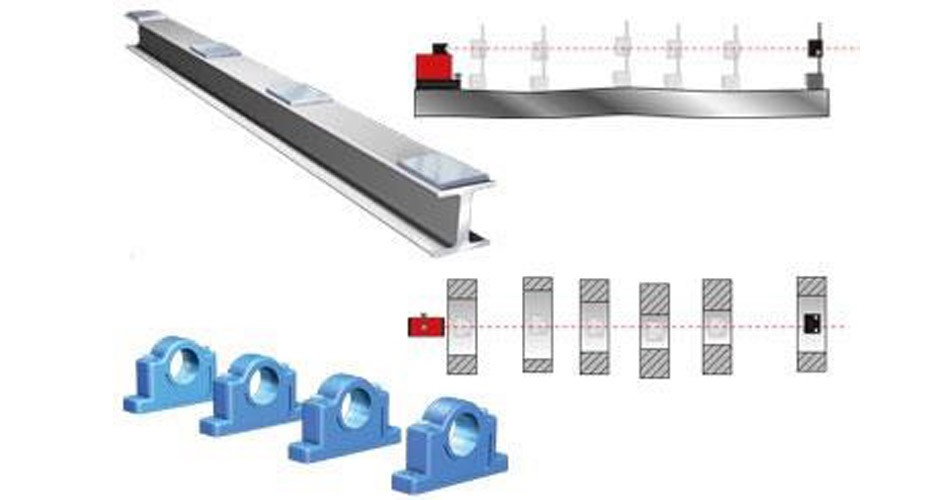
Principle for straightness measurement
The basic principle of straightness measurement is that all measurement values will show the position of the detector unit relative to the laser beam. The laser beam can be envisioned as a very, very long, absolutely straight and weightless ruler. First, the beam is roughly aligned along the measurement object. The detector is then positioned on the selected measuring points and the values registered. According to the measurement, two of the measuring points are set to zero, and the other points are recalculated to this reference line. New measurement points can be added or removed. An offset value for all points can be added for automatic calculation of correct adjustment values. Adjustment can be made with live values for continuous feedback.
Relative or absolute reference
When the measured object is to be the reference (relative reference), the laser beam is levelled to the detector positioned at the two reference points. This levelling procedure is always carried out according to the same principle – zeroing the laser. When using the horizontal plane reference (absolute reference), the laser beam is levelled according to the vials on the laser transmitter (D22). Then all detector values are shown in relation to the horizontal plane.
Typical items we can measure for you are
- Straightness of Machine beds
- Straightness of Long Shaft
- Straightness of Machine foundations
- Straightness of Crane Rails
- Straightness of Pipe.
